Photograph Thickness
Photographs thicker than a modern Polaroid, including some vintage cardboard-mounted prints, may require a different scanning method. Please separate these photographs for individual evaluation.

How to prepare your photos for scanning.
Remove loose photographs from envelopes, sleeves, and albums when possible. Remove paper clips, staples, sticky notes, and other attachments. Do not force photographs that are firmly attached to album pages.
Standard shoebox scanning accepts photographs from 3" × 3" up to 8" × 10". Separate Polaroids, oversized photographs, and unusually thick prints for individual evaluation.
Keep photographs of similar dimensions together, such as 4" × 6" and 5" × 7" prints. Use separate bundles for each size to help streamline scanning and preserve your preferred order.
Arrange photographs face-up and in the same direction whenever practical. If you want your photographs scanned in a particular sequence, keep them in that order within each bundle.
Additional Preparation: Photographs requiring extra sorting, preparation, or special scanning order may incur additional handling charges. Please contact USA IMAGING before submitting collections requiring customized organization.
Photographs thicker than a modern Polaroid, including some vintage cardboard-mounted prints, may require a different scanning method. Please separate these photographs for individual evaluation.
Newspaper clippings, laminated photographs, irregularly shaped prints, and photographs with adhesive residue should be separated for evaluation. These materials may not be suitable for standard shoebox scanning.
Gently remove loose surface dust with a clean, soft, lint-free cloth when safe. Do not rub fragile photographs or attempt to remove adhesive residue yourself. Set aside delicate or damaged prints for special handling.
Group and label collections when specific folder names or scanning sequences are required. Discuss any customized organization needs before submitting your photographs. Additional sorting or preparation may involve extra charges.
“Place photographs face-up and in the same direction within each bundle. Incorrect orientation may result in upside-down scans or images of the back of the photograph.”

Photograph positioned correctly for scanning.

Photograph will be scanned upside down.
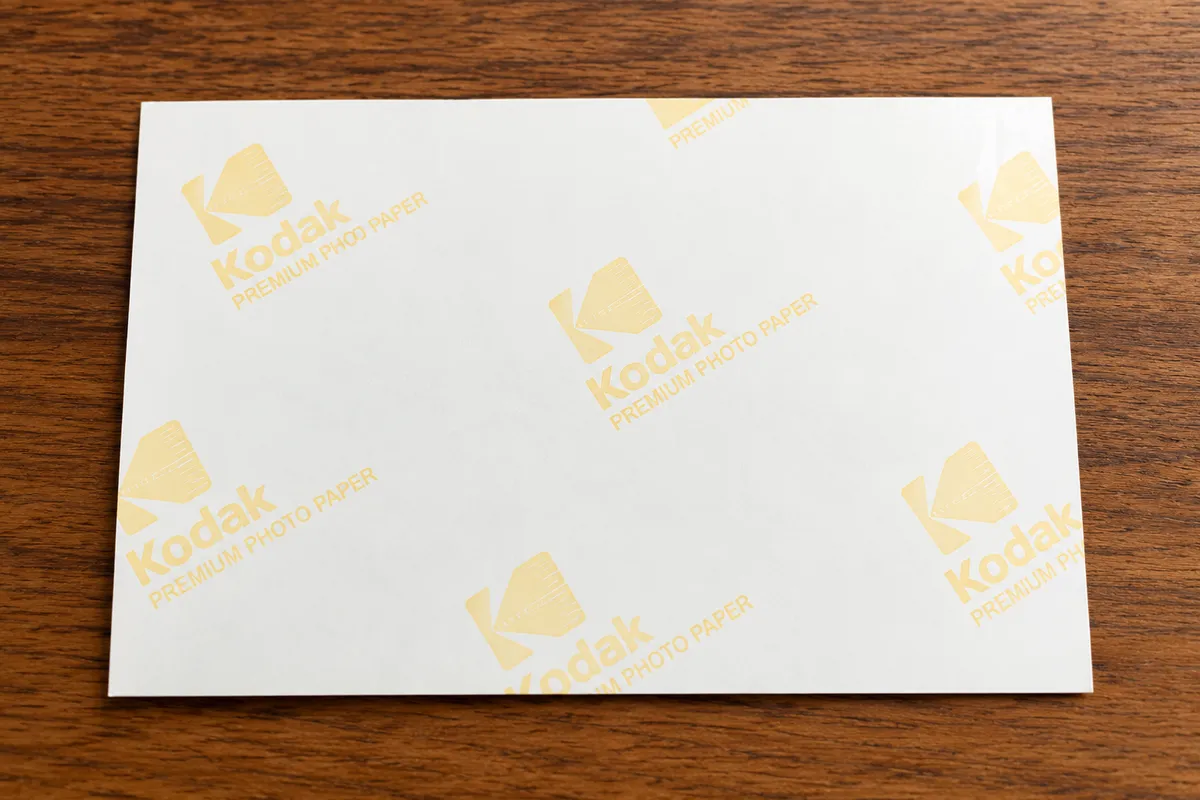
The back of the photograph will be scanned instead of the image.


© 2023 by USA IMAGING, Inc.. All rights Reserved. Powered by: Top Run Marketing.
Facebook
Instagram
LinkedIn
Youtube