How to Prepare a Large Office for Scanning: A Step-by-Step Plan
By: USA IMAGING, Inc.
When your office is overflowing with filing cabinets, bankers boxes, or off-site records, scanning everything can feel overwhelming. But with the right preparation, even massive digitization projects can run smoothly—saving you time, space, and future headaches.
Whether you're a law firm, medical practice, government agency, or corporate office, here’s how to prepare your files, team, and timeline for a successful scanning project.
📦 Step 1: Know What You Have
Before a single file is packed:
Walk through every department and take inventory
Estimate how many boxes, filing cabinets, or drawers will be scanned
Identify file types: HR records, client files, financial docs, contracts, etc.
Separate active vs. inactive files—do you need it for daily use or just for archive?
We can help with this step by offering a pre-scan site assessment to evaluate your volume and provide a quote.
🗂️ Step 2: Organize Before You Scan
Good prep = smooth scanning. Organize your files before boxing them:
Remove staples, paper clips, and sticky notes (we can help if needed)
Group files by category, year, department, or client
Label folders clearly so we can scan in order
Use index cards or cover sheets to mark sections (e.g., “2023 Invoices”)
This reduces scan errors, rescans, and time spent digging later.
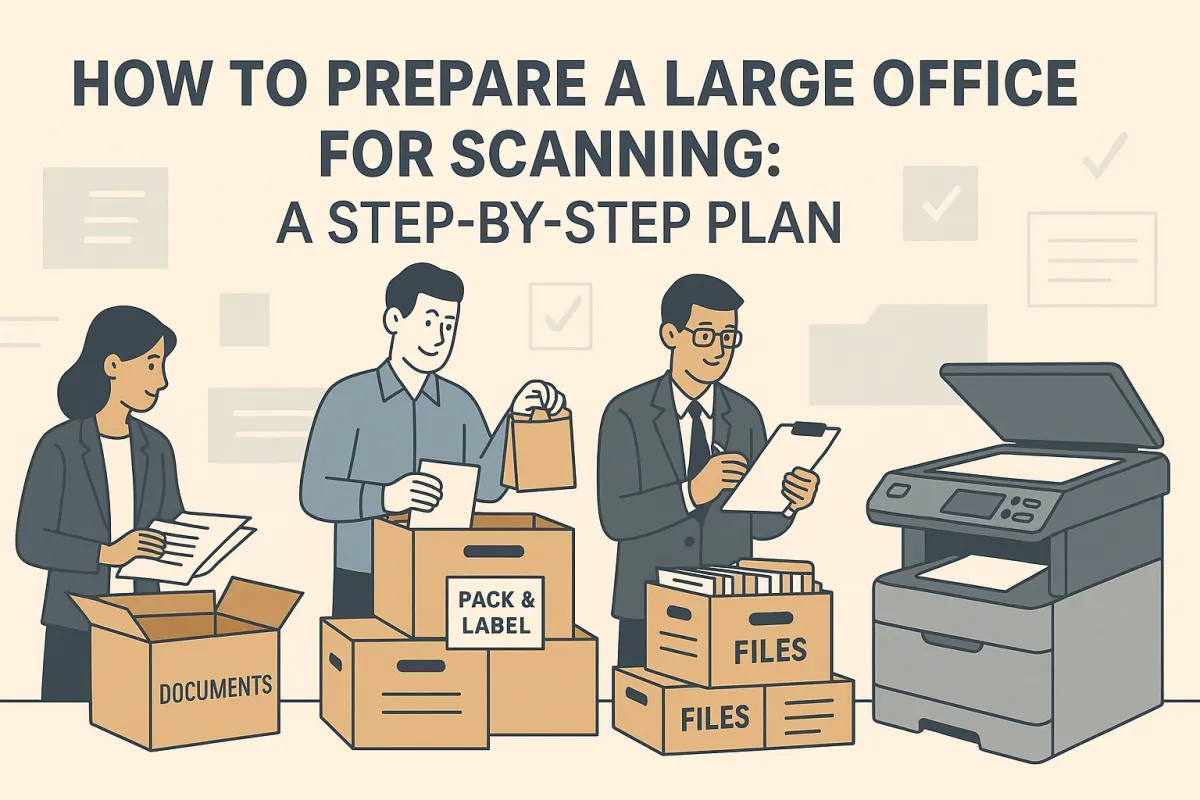
🧳 Step 3: Pack Smart
Use sturdy bankers boxes or file storage boxes
Don’t overfill—no more than 35–40 lbs per box
Label each box with:
Project or department name
Date range or file type
Priority status (see next step)
Pro tip: Create a box log spreadsheet with matching labels so you can track what’s been scanned and what hasn’t.
🚦 Step 4: Prioritize What’s Needed First
Do some files need to be digitized ASAP?
Mark urgent boxes that need to be processed first
We can scan in phases—starting with your most critical files
Ask about rush scanning or on-demand retrieval options during the project
🗣️ Step 5: Communicate with Your Team
Let your staff know:
Which files will be scanned and when
Where to store files temporarily
How to request a file if it’s being scanned
Who the point-of-contact is for questions
We’re happy to coordinate directly with your team or IT department to make access seamless during and after scanning.
📁 Step 6: Decide on File Structure and Format
Before scanning, we’ll work with you to choose:
File format: PDF, TIFF, searchable PDF with OCR
Folder structure: Department/Year/Client, etc.
File naming: Invoice_2023_ABCCompany.pdf or similar
Delivery method: Encrypted drive, SFTP upload, or cloud portal
The better the plan, the easier it is to use your digital files from day one.
🧾 USA Imaging Makes It Easy
We’ve helped large offices scan:
500+ boxes of legal files
Decades of HR and financial records
Entire building archives and file rooms
Our team handles pickup, prep, scanning, indexing, and secure delivery—so you can focus on your work, not your paperwork.
📞 Ready to Digitize Your Office?
The best time to start scanning was yesterday. The second best time is today.
Let’s simplify your records and future-proof your organization.
Call USA Imaging at (858) 513-6565
Email: [email protected]
or Request a Quote and we’ll guide you step-by-step.
