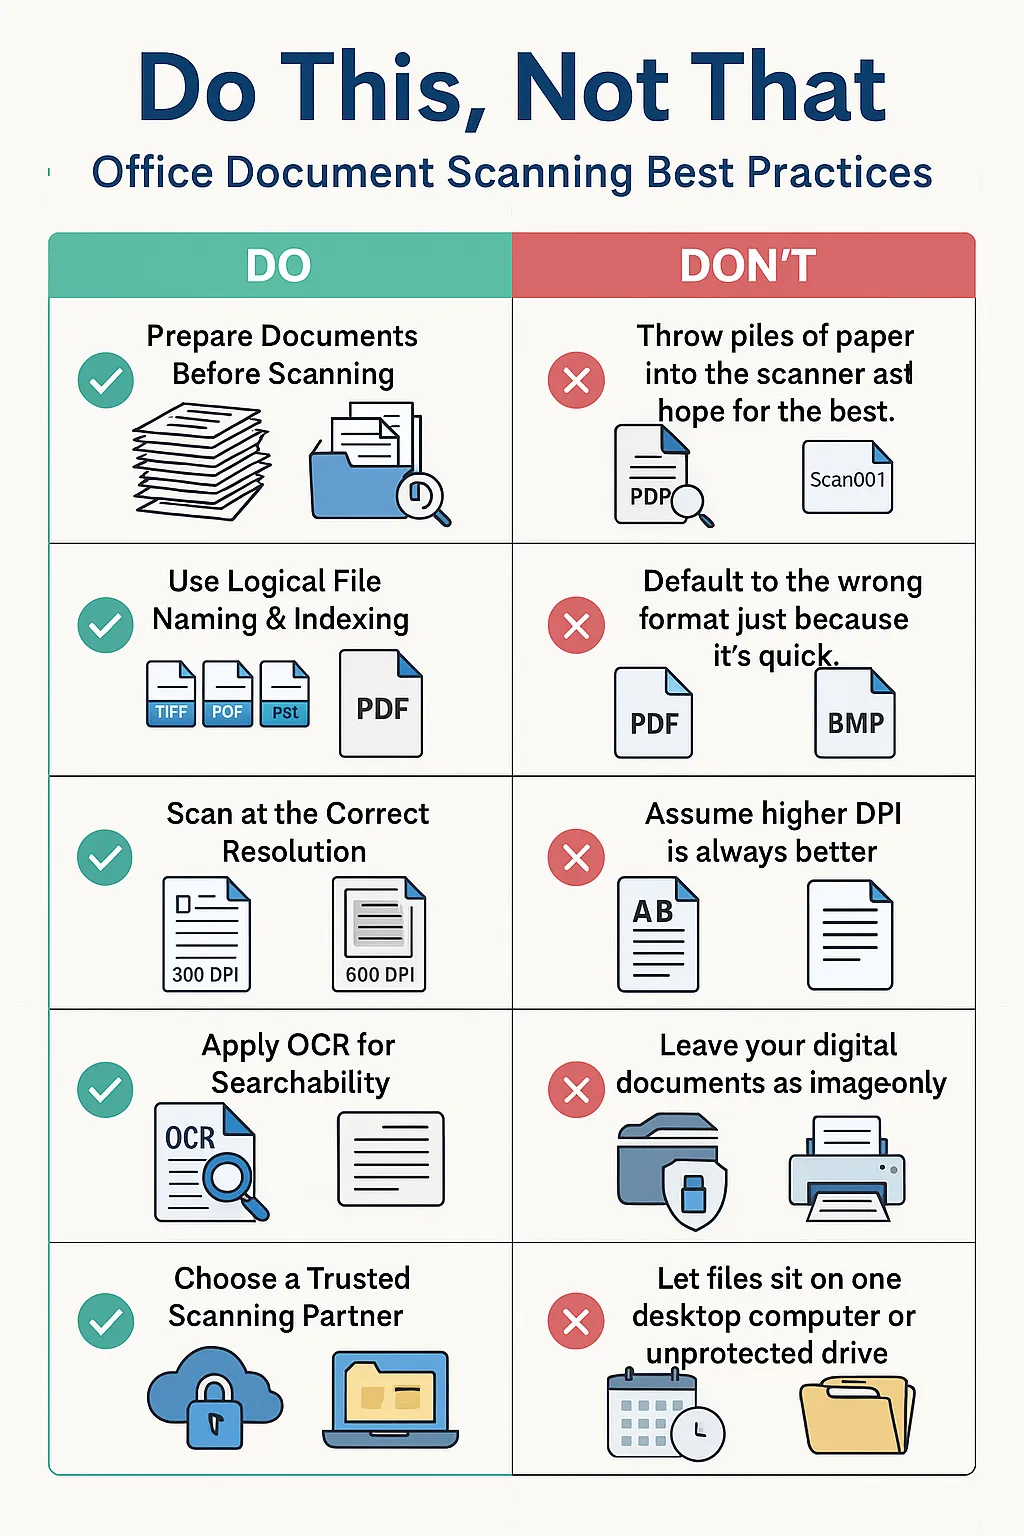
Do This, Not That: Office Document Scanning Best Practices
By USA IMAGING, Inc.
When it comes to digitizing your office documents, the choices you make before, during, and after the scanning process can dramatically impact the efficiency, security, and usability of your digital files. At USA IMAGING, Inc., we’ve spent decades helping businesses transition from paper chaos to organized digital archives. Along the way, we’ve seen common pitfalls—and how to avoid them.
Here’s our expert guide to “Do This, Not That” for office document scanning:
✅ DO: Prepare Documents Before Scanning
❌ DON'T: Throw piles of paper into the scanner and hope for the best.
Preparation is everything. Remove staples, paperclips, binder clips, sticky notes, and rubber bands. Straighten pages and ensure they’re facing the right direction. Not doing so leads to jams, misfeeds, and poor image quality.
✅ DO: Use Logical File Naming & Indexing
❌ DON'T: Name files "Scan001", "Doc2", or random dates.
Unclear file names make it impossible to retrieve documents later. Instead, develop a consistent naming convention based on document type, date, or department. Implement folder-level indexing so you can find what you need fast without sifting through hundreds of files.
✅ DO: Choose the Right File Format
❌ DON'T: Default to the wrong format just because it’s quick.
TIFF files are ideal for long-term archival and legal compliance, while PDF is versatile for everyday access and sharing. JPEGs are best for photos, but not for text-heavy documents. Understanding when to use each format ensures clarity and future usability.
✅ DO: Scan at the Correct Resolution
❌ DON'T: Assume higher DPI is always better.
300 DPI is standard for most office documents—high enough for readability and OCR, but small enough to manage file size. Scanning everything at 600 DPI or higher can cause bloated files that slow your systems and take up excessive storage space without added benefit.
✅ DO: Apply OCR for Searchability
❌ DON'T: Leave your digital documents as image-only.
OCR (Optical Character Recognition) turns scanned documents into searchable, editable text. Without OCR, you’re left with unsearchable digital “pictures” of documents—nearly as inefficient as having stacks of paper.
✅ DO: Choose a Trusted Scanning Partner
❌ DON'T: Hand over sensitive data to just anyone with a scanner.
Document security is critical. At USA IMAGING, Inc., we’re HIPAA compliant and experienced in handling legal, financial, HR, and government records. Your documents are scanned with care, confidentiality, and chain-of-custody tracking.
✅ DO: Store Files in a Secure, Accessible Location
❌ DON'T: Let files sit on one desktop computer or unprotected drive.
Cloud storage, secure file servers, and client portals ensure your documents are backed up and accessible to authorized users only. Implement role-based access and regular audits for optimal control.
✅ DO: Plan for Ongoing Scanning
❌ DON'T: Treat it like a one-time job and go back to paper.
The best scanning projects are part of a sustainable digital strategy. Whether you implement daily scanning, weekly pickups, or scheduled bulk scanning, consistency is key to staying organized long-term.
✅ DO: Ask Questions Before Starting
❌ DON'T: Assume all scanning companies work the same way.
Ask about DPI settings, file formats, indexing options, turnaround times, and data security. At USA IMAGING, Inc., we tailor each project to your unique needs, walking you through every step of the process.
Final Thoughts
Digitizing office documents is more than just feeding paper into a machine—it’s about building a smarter, more efficient workflow that supports your business today and into the future.
At USA IMAGING, Inc., we’re here to make it easy, safe, and successful. Whether you're scanning a few boxes or an entire records room, we’ll help you do it right from the start.
📞 Contact us today to schedule a consultation and learn how we can help your office go paperless the smart way.
